Creating a Drama Episode with Plot Party: Step-by-Step Tutorial
Learn how to create a 1-2 minute AI drama episode on Plot Party. From writing your script to generating videos and publishing — a complete walkthrough of the agentic canvas.
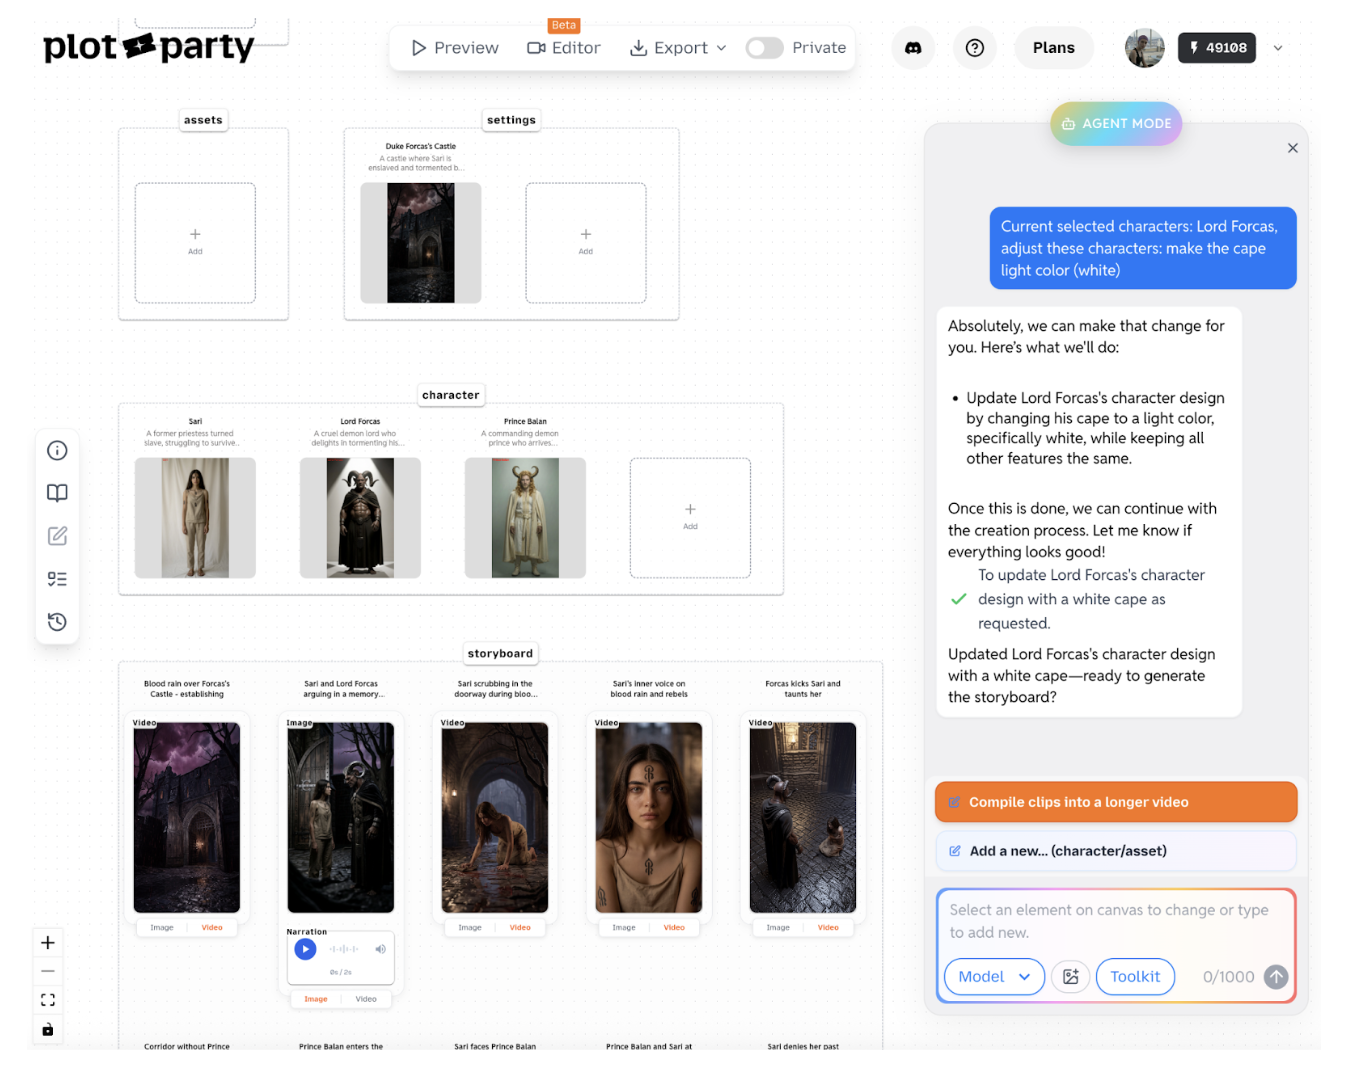
Each story on Plot Party is a 1-2 minute narrative — a bite-sized drama episode powered by AI. You write the script, direct the visuals, and Plot Party's agentic canvas handles the heavy lifting: character design, scene generation, and video production.
Story mode is not a one-click tool. It's an agentic canvas — Plot Party gets you 80% of the way there, and you iterate on the remaining 20% to make it yours. The agent guides you through every step, but you're the director.
Keep it short. If your storyline is too long, break it down into bite-sized episodes first. A single story should fit comfortably in 1-2 minutes.
Too short? If your idea is only ~15 seconds of content, skip story mode entirely. Go to plotparty.ai/generate and create individual generations directly.
Review as you go. The agent will pause at key moments (script, characters, storyboard) to ask for your approval. Check the output before continuing — this avoids spending credits on shots you don't like.
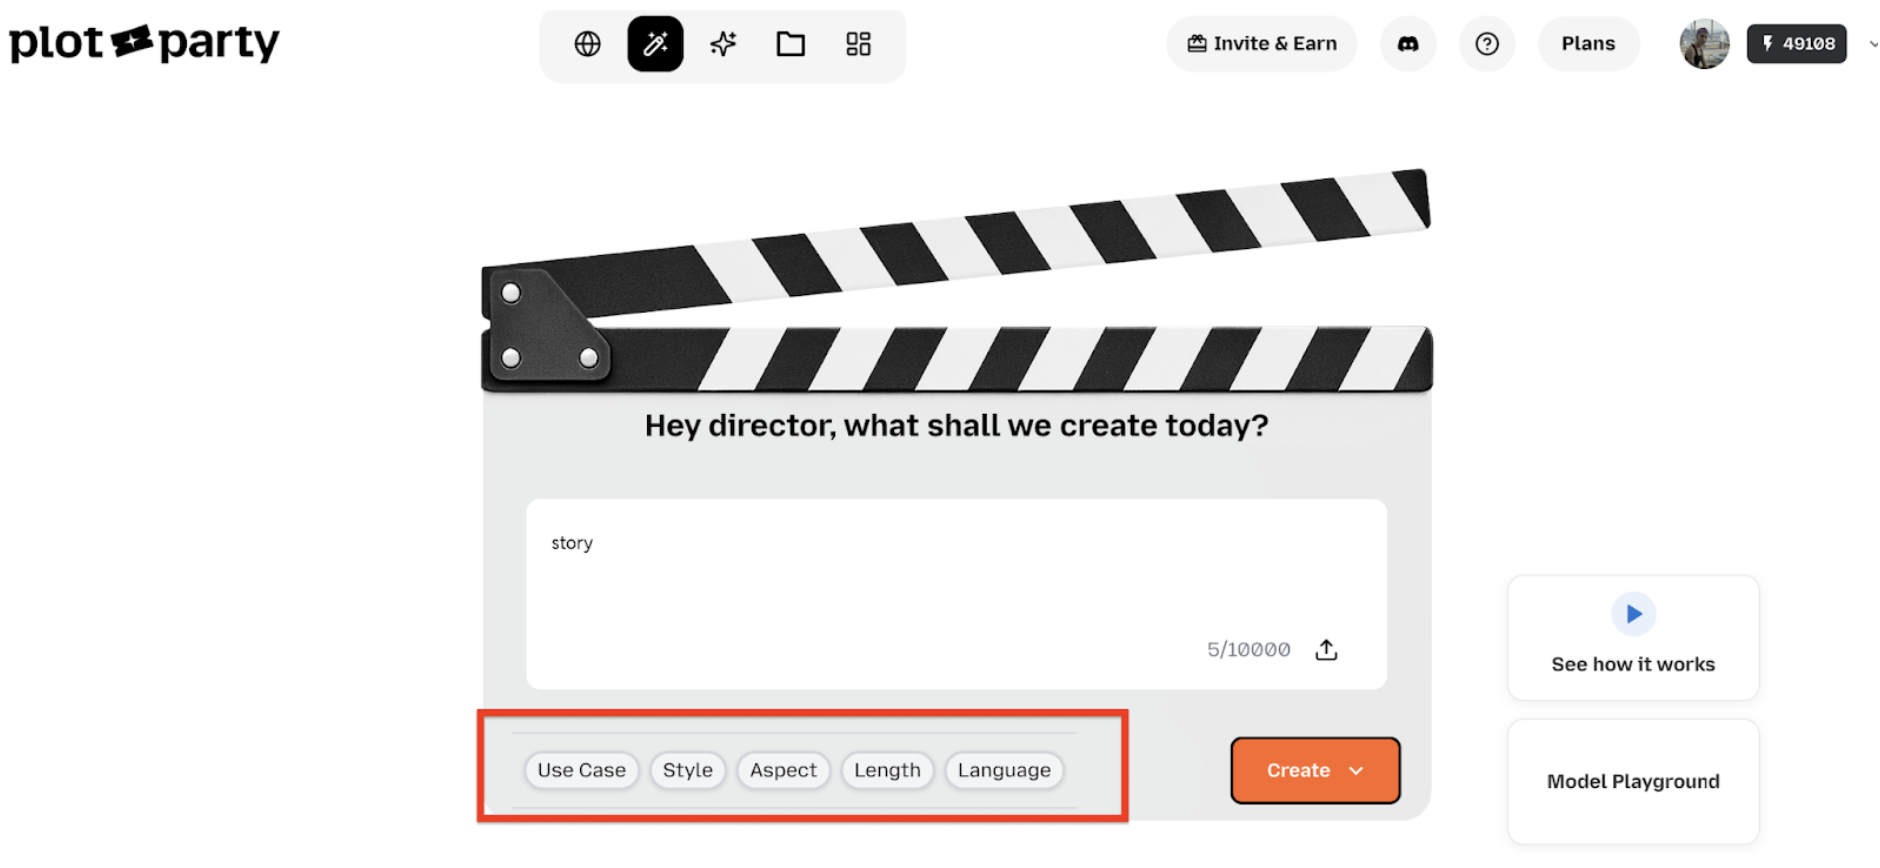
In the prompt box, enter either a storyline (a loose narrative description) or an actual script (with dialogue and scene directions). The more specific you are, the better the output.
Make sure the story is feasible for a 1-2 minute runtime. A good rule of thumb: 5-8 scenes, each about 10-15 seconds.
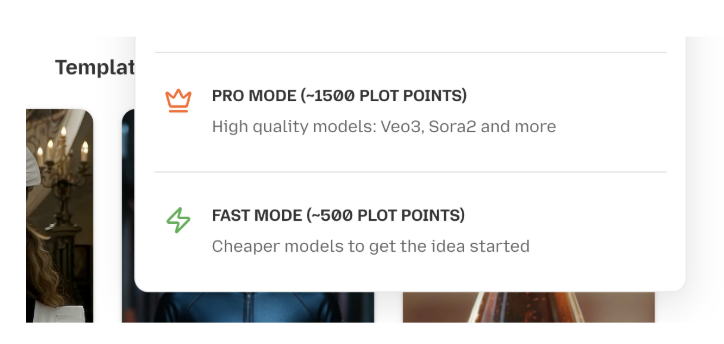
You'll also choose a generation mode:
Mode
Cost
Best For
Fast mode
~$10 credits per 1 min video
Prototyping, narrated videos, quick iterations
Pro mode
~$30 credits per 1 min video
Finished dramas, best models (Kling V3, Veo 3.1, etc.)
Tip: Start with Fast mode to nail your story structure, then re-generate key scenes in Pro mode for the final cut. This saves credits while keeping quality high.
Credit estimates account for 10-20 regenerations per video, so you have room to iterate.
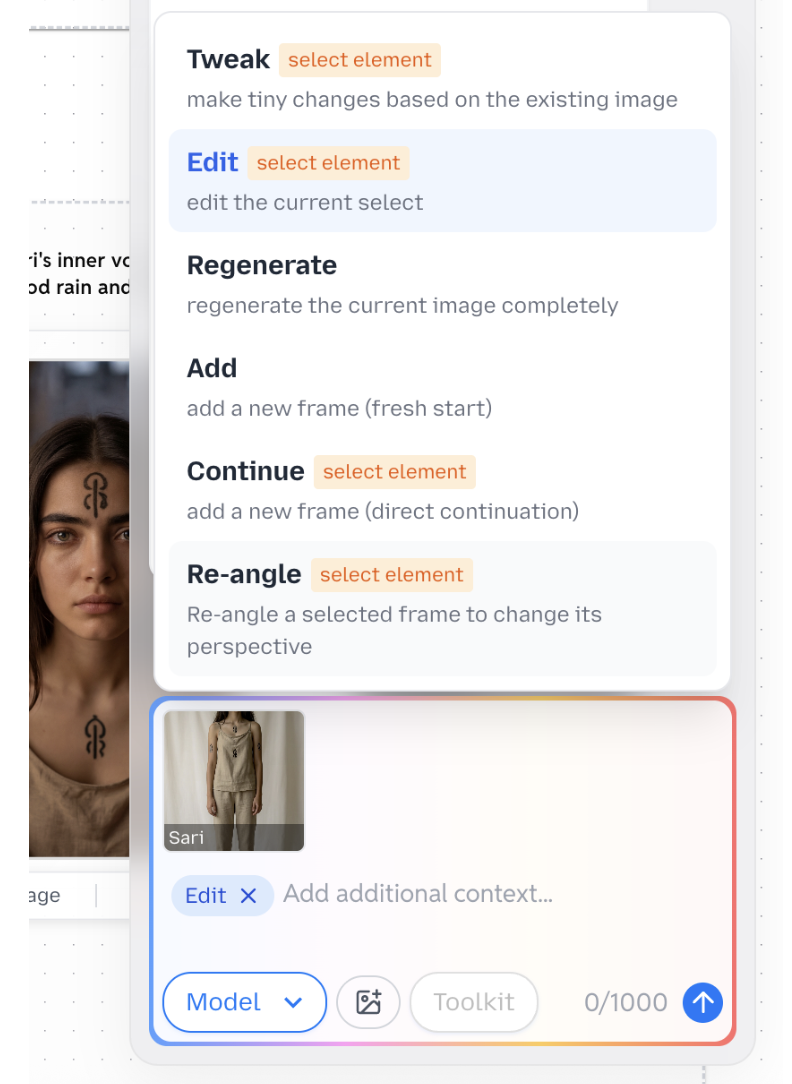
This is where you direct. To make changes to any element, you have two options:
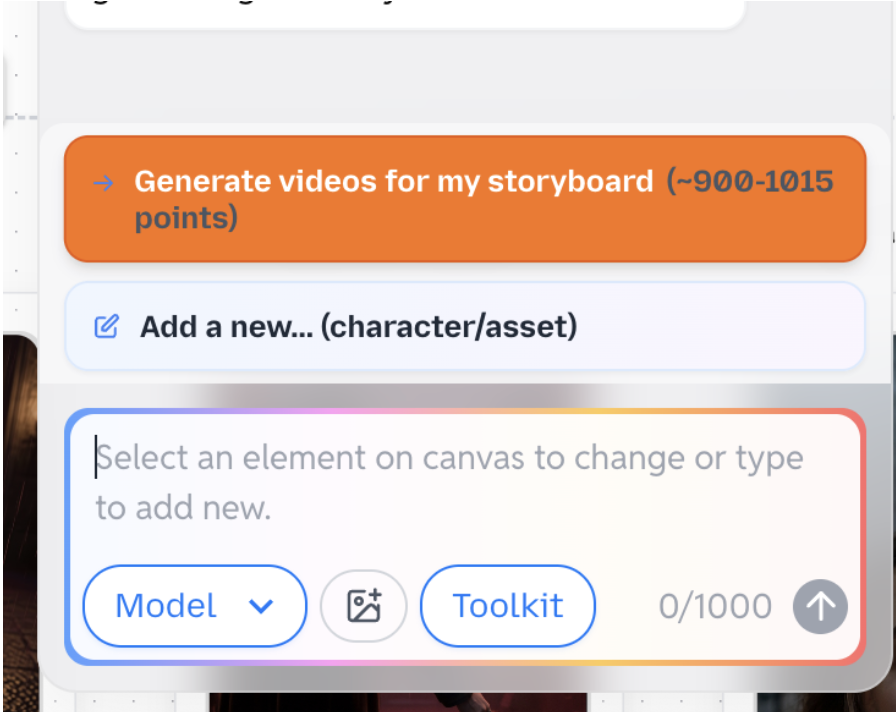
Option A — Use the chatbox: Click on an element, then choose a tool in the chatbox:
K — for simple tweaks and adjustments
Reangle — to change camera angles on a scene
Regenerate — to fully re-run a generation from scratch
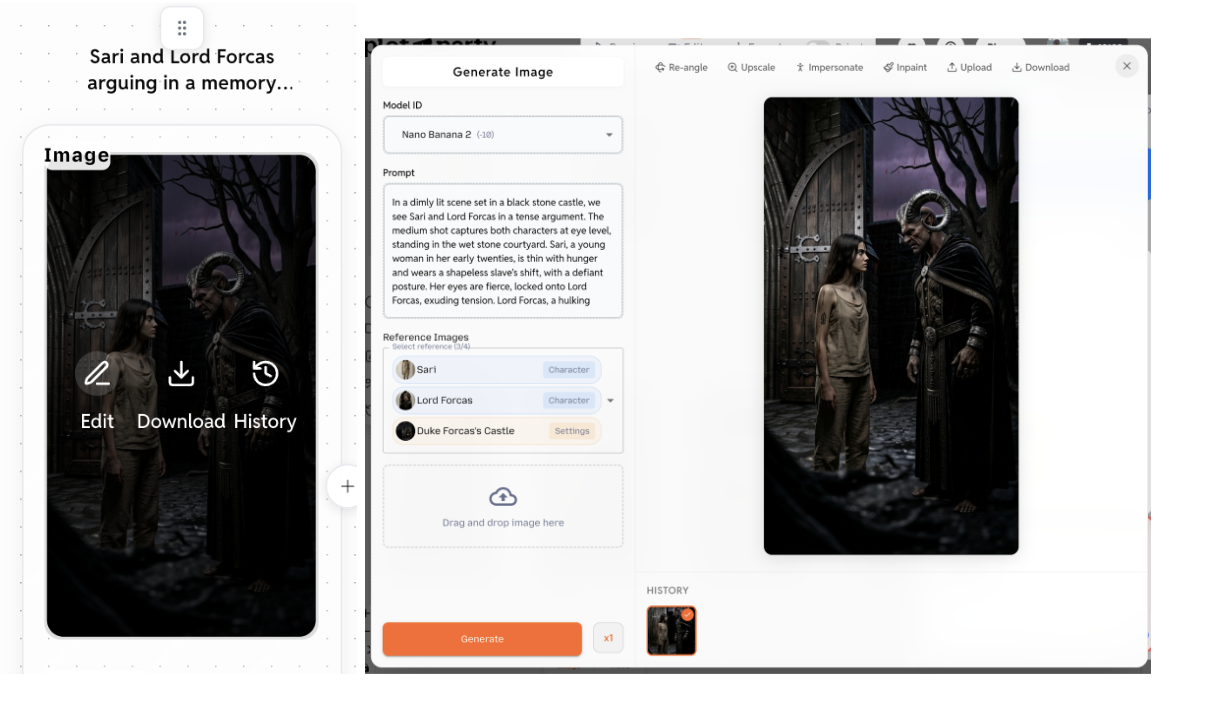
Option B — Direct editing: Hover over any element → click Edit → choose the model directly and tweak the prompt.
Both approaches give you fine-grained control. Use the chatbox for quick direction changes; use direct editing when you know exactly what prompt adjustment you need.
If you're looking to create a series of episodes, check out our guide to creating AI microdramas for tips on structuring serialized content. And to see what other creators are building, browse the community gallery.
A good first Plot Party drama episode should be around 1-2 minutes. That is long enough to create a clear emotional beat, but short enough to keep the story focused and make iteration affordable.
Do I need a finished script before using Plot Party?
No. You can start with either a loose storyline or a more polished script. A finished script gives the agent more structure, but a clear premise with characters, conflict, and tone is enough to begin.
Start with Fast mode when you are testing story structure, pacing, and scene order. Move to Pro mode once the script, characters, and storyboard feel right and you are ready to generate final-quality drama scenes.
Plot Party Studio is an agent-native workbench for long-form AI drama. Brief the agent, and it writes scripts, casts characters, generates every clip, scores the cut, and files each result into a tree you can open, edit, and reuse. Here is how the three-column workbench, the six tools, skills, memory, and credits work.
Plot Party MCP turns your AI agent into a director. Connect one URL to Claude, ChatGPT, Cursor, or Codex and generate character sheets, nine-grid variations, Seedance 2.5 and Kling 3.0 clips, dialogue, and music without leaving the chat. Setup, tools, a step-by-step episode workflow, and FAQ.
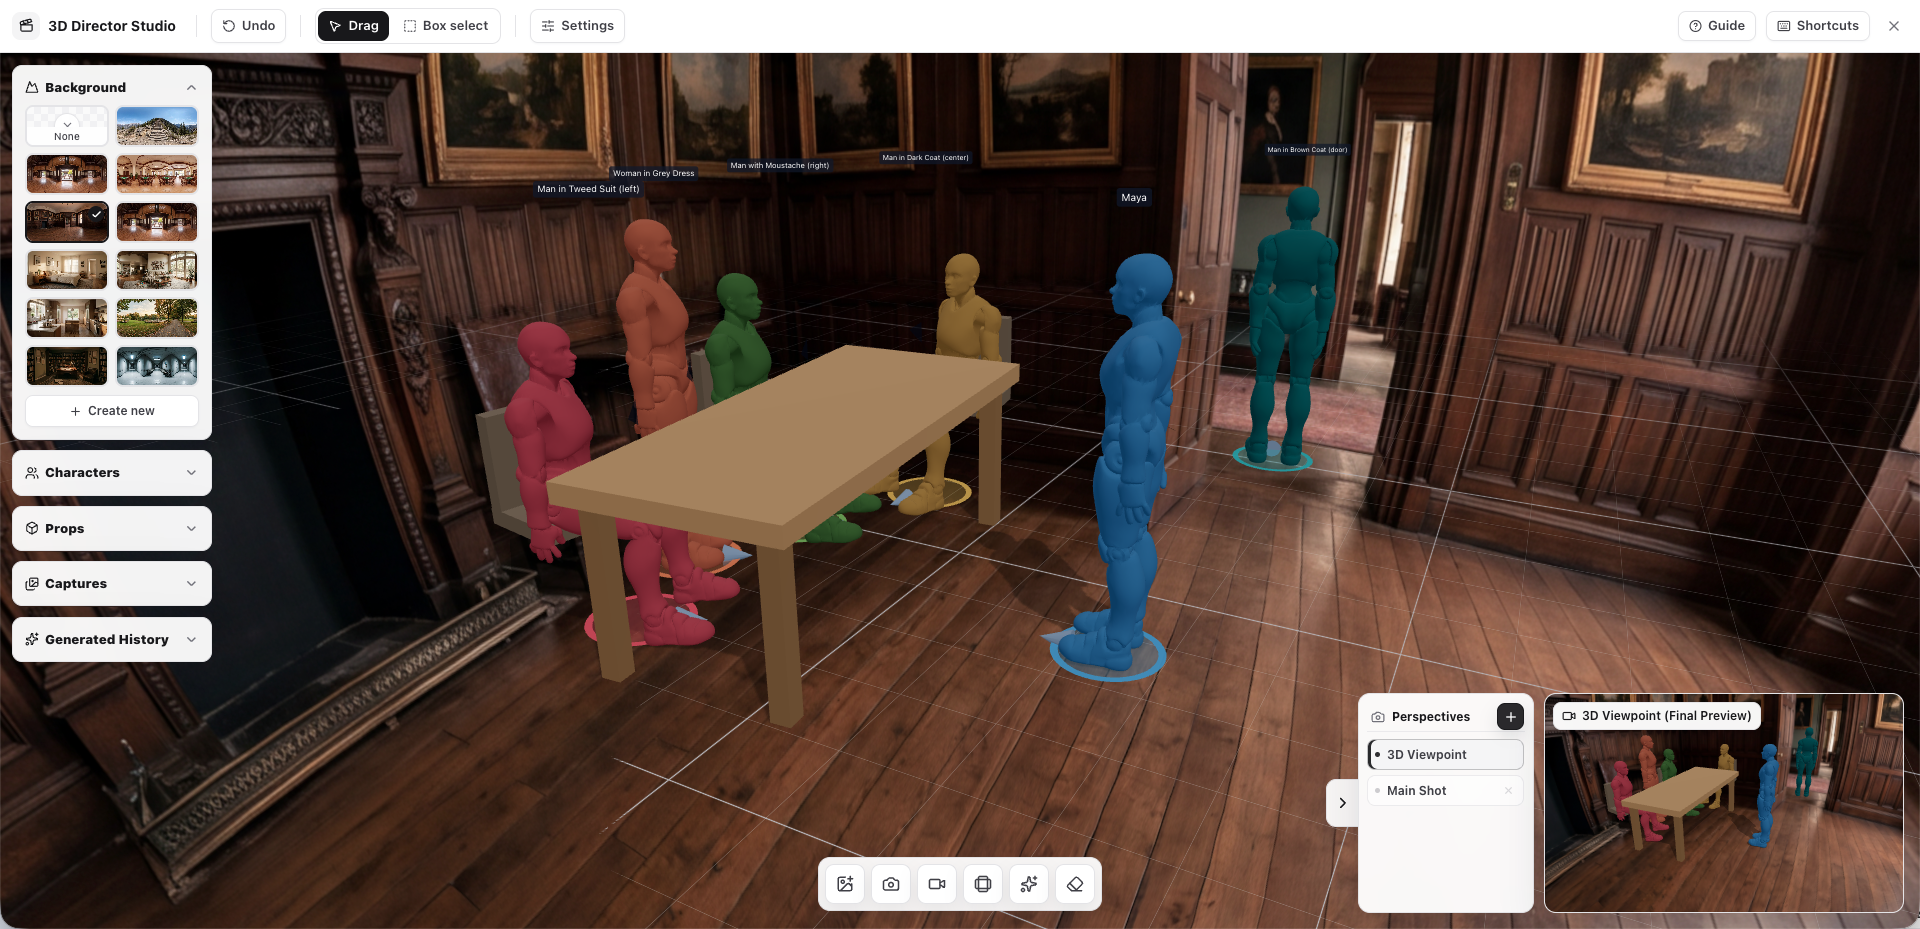
Learn how Plot Party's Director Studio helps creators control character blocking, poses, props, scenes, and camera movement so AI video models generate closer to your creative intent.
Start Creating with Plot Party
Turn your ideas into AI-generated microdramas. No filmmaking experience required.